Alweer een nieuwe blog over Business Central op Docker. Feit is dat ik dit dus niet dagelijks doe en steeds weer op zoek moet gaan naar de laatste informatie. Zo is het me tot op de dag van vandaag niet gelukt om PowerShell 7 te gebruiken met BcContainerHelper. Tot overmaat van ramp had ik bedacht dat ik dit ook wel op een Windows Server 2025 in Azure kon laten draaien. Inmiddels ben ik weer terug naar PowerShell 5.1 gebruik makende van PowerShell ISE op Windows Server 2022. Een klein uitstapje dus, met grote gevolgen omdat ik veel tijd kwijt ben geraakt aan het oplossen van dingen die niet lijken te werken. Voor de bedoeling van deze blog post om Business Central 2025 Wave 1 (versie 26) op Docker te laten draaien, maakt dat voorlopig niet uit.
Eerste template die ik gebruikte.
$containerName = $containerName
$dnsName = $dnsName # For example "docker.example.com"
$password = $password
$authenticationEmail = $authenticationEmail
$securePassword = ConvertTo-SecureString -String $password -AsPlainText -Force
$credential = New-Object pscredential 'marcom', $securePassword
$auth = 'UserPassword'
$artifactUrl = Get-BcArtifactUrl -type 'Sandbox' -country 'nl' -select 'Latest'
$aadTenant = $aadTenant
$aadAppId = $aadAppId
$aadAppIdUri = $aadAppIdUri
$licenseFile = $licenseFile
Install-Module BcContainerHelper -force

New-BcContainer `
  -accept_eula `
  -containerName $containerName `
  -artifactUrl $artifactUrl `
  -auth "AAD" `
  -aadTenantId $aadTenant `
  -AuthenticationEMail $aadUser `
  -Credential $MyCredential `
  -useSSL=Y `
  -publicDnsName $dnsName `
  -assignPremiumPlan `
  -updateHosts `
  -dns "8.8.8.8" `
  -includeTestToolkit `
  -includeTestLibrariesOnly `
  -AadAppId  $aadAppId `
  -AadAppIdUri $aadAppIdUri `
  -installCertificateOnHost=Y `
  -multitenant `
  -WebClientPort 443 `
  -licenseFile $licenseFile `
  -alwaysPull
NB: de variabelen moeten nog ingevuld worden. Vanwege privacy, heb ik ze dezelfde naam gegeven.
Uiteraard kan ik natuurlijk voor het gemakkelijke gaan. We installer Dockers, zetten deze om naar Windows Containers, zorgen ervoor dat Hyper-V en Containers als rol worden ondersteund op Windows Server 2022. Wat ik wil is dit te laten draaien met Azure AD Authentication. De meeste blogs die op internet zijn verschenen, beschrijven dit niet. Het meest makkelijke is natuurlijk om de Server Instance uit te rusten met NavUserPassword als authenticatie mechanisme.
De tweede template die ik gebruik is de daarom volgende. Ik heb overigens een blog post die je kunt vinden op deze site gebruikt. Is wel zo handig natuurlijk. Anders moest ik iedere keer de credentials van de AAD gebruiken invullen. Voor de rest geldt: Zoek de verschillen!
Set-ExecutionPolicy Unrestricted -Scope LocalMachine -Force
Install-PackageProvider -Name NuGet -force
Install-Module BcContainerHelper -Force
$containerName = $containterName
$aadTenant = $aadTenant
$aadUser = $aadUser
$dnsName = $dnsName
$artifactUrl = Get-BcArtifactUrl -type 'Sandbox' -country 'nl' -select 'Latest'
$aadAppId = $aadAppId
$aadAppIdUri = $aadAppIdUri
$licenseFile = "C:\temp\4845780.bclicense"
$UserName = Read-Host "Enter Username"
$Password = Read-Host "Enter Password" -AsSecureString
$TEMP = "$env:TEMP"
$File = "$Temp\Password.txt"
$Password | ConvertTo-SecureString -AsPlainText -Force | ConvertFrom-SecureString | Out-File $File
$Password = Get-Content $File | ConvertTo-SecureString
$User = $UserName
$MyCredential=New-Object -TypeName System.Management.Automation.PSCredential `
-ArgumentList $User, (Get-Content $File | ConvertTo-SecureString)
New-BcContainer `
-accept_eula `
-containerName $containerName `
-artifactUrl $artifactUrl `
-auth "AAD" `
-aadTenantId $aadTenant `
-AuthenticationEMail $aadUser `
-Credential $MyCredential `
-useSSL=Y `
-publicDnsName $dnsName `
-assignPremiumPlan `
-updateHosts `
-dns "8.8.8.8" `
-AadAppId $aadAppId `
-AadAppIdUri $aadAppIdUri `
-useSSL=Y `
-installCertificateOnHost=Y `
-multitenant `
-WebClientPort 443 `
-licenseFile $licenseFile `
-additionalParameters @("--publish 443:443")
# Begin Import modules
Enter-BcContainer -containerName $containerName
Import-Module WebAdministration
Import-Module "C:\Program Files\Microsoft Dynamics NAV\260\Service\Microsoft.Dynamics.Nav.Management.psm1"
Import-Module "C:\Program Files\Microsoft Dynamics NAV\260\Service\NAVWebClientManagement.psm1"
# End Import modules
# Begin list certificates in LocalMachine\My
$cert = Get-ChildItem -Path Cert:\LocalMachine\My |
Where-Object { $_.Subject -like "*docker.digitalemels.nl*" } |
Sort-Object NotAfter -Descending |
Select-Object -First 1
$ServicesCertificateThumbprint = $cert.Thumbprint
# Configuring the parameters
Set-NAVServerConfiguration -ServerInstance BC -KeyName PublicWebBaseUrl -KeyValue "https://$dnsName/BC/"
Set-NAVServerConfiguration -ServerInstance BC -KeyName PublicSOAPBaseUrl -KeyValue "https://$dnsName:7047/BC/WS/"
Set-NAVServerConfiguration -ServerInstance BC -KeyName PublicODataBaseUrl -KeyValue "https://$dnsName:7048/BC/ODataV4/"
Set-NAVServerConfiguration -ServerInstance BC -KeyName PublicWinBaseUrl -KeyValue ""
Set-NAVServerConfiguration -ServerInstance BC -KeyName ServicesCertificateThumbprint -KeyValue $ServicesCertificateThumbprint
Restart-NAVServerInstance -ServerInstance BC -Force
Get-NAVServerConfiguration -ServerInstance BC
# Configuring the parameters
# Begin troubleshooting
Get-WebSite
Get-WebBinding
Remove-WebBinding -Name http -BindingInformation "*:443:"
Stop-Website -Name http
Start-Website -Name http
New-WebBinding -Name "NavWebApplicationContainer" -Protocol https -Port 443 -HostHeader "$dnsName"
Start-Website -Name "NavWebApplicationContainer"
netsh http add sslcert ipport=0.0.0.0:443 certhash=$ServicesCertificateThumbprint appid='{00112233-4455-6677-8899-AABBCCDDEEFF}'
# End troubleshooting
# Begin export / import SSL cert
$cert = Get-ChildItem -Path Cert:\LocalMachine\My | Where-Object { $_.Subject -like "*$dnsName*" }
$certPath = "C:\run\$dnsName.cer"
Export-Certificate -Cert $cert -FilePath $certPath
exit
docker cp bc-aad-nl:"C:\run\$dnsName.cer" "C:\temp\$dnsName.cer"
Import-Certificate -FilePath "C:\temp\$dnsName.nl.cer" -CertStoreLocation "Cert:\LocalMachine\Root"
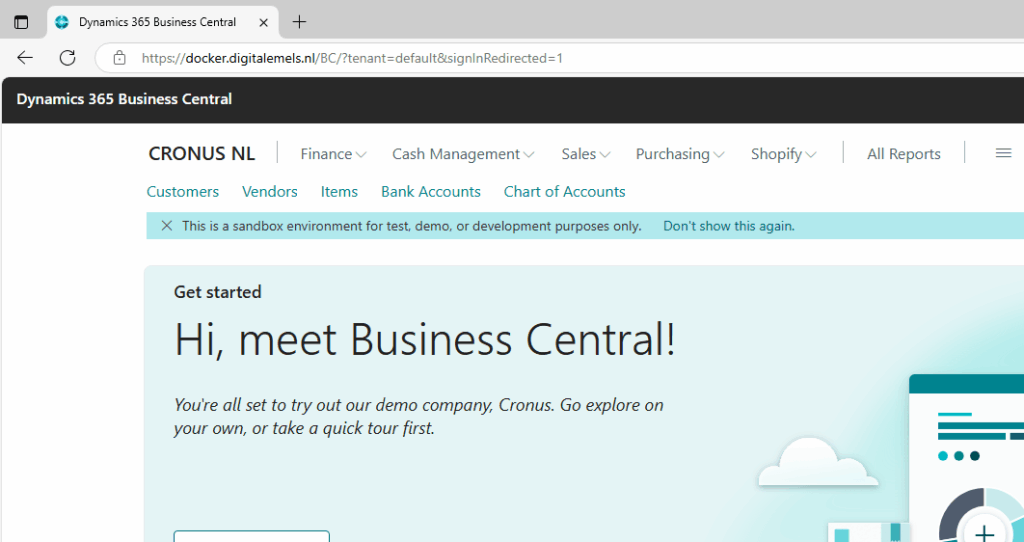
# End export / import SSL certDe deployment is met dit script gedaan en de connecties zijn ready to go. Nice
Waarom werkt Business Central op Docker niet out of the box?
Dit komt omdat New-BcContainer voor interne doeleinden een aparte site opzet over port 8080, te weten http://$dnsName:8080/language.vsix. Echter, omdat we useSSL gebruiken, voegt New-BcContainer een binding toe over port 443. Dus op elke site. Maar omdat we geen twee bindings kunnen hebben op twee sites binnen IIS, ontstaat er een probleem dat de site NavWebApplicationContainer niet gestart wordt.
De oplossing is dan om de binding van de site http weg te halen en een nieuwe binding toe te voegen via netsh.